The cob oven was one of our earliest projects. There’s something very appealing about the idea of an outdoor oven – and what can beat wood-fired pizza?!
There are plenty of courses organised all over the country on how to build cob ovens. But as usual we didn’t bother with them and jumped straight in.
What is cob?
Cob is a mix of clay, sand and straw. It’s probably the world’s most commonly used building material. This is what it looks like:
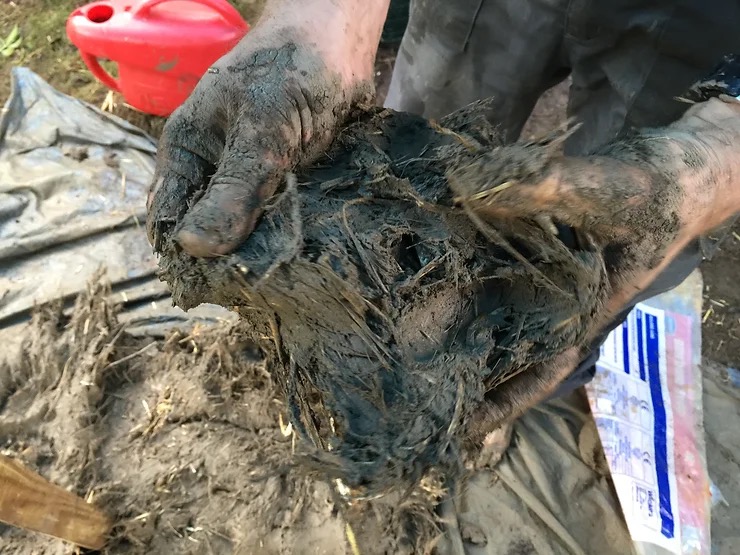
It has some advantages:
- it’s made from natural raw materials
- it’s easy to make
- it requires zero energy inputs to make (other than lots of tea and biscuits)
- it’s strong
- it’s a joy to work with
and one big disadvantage:
- it’s not waterproof.
Foundations
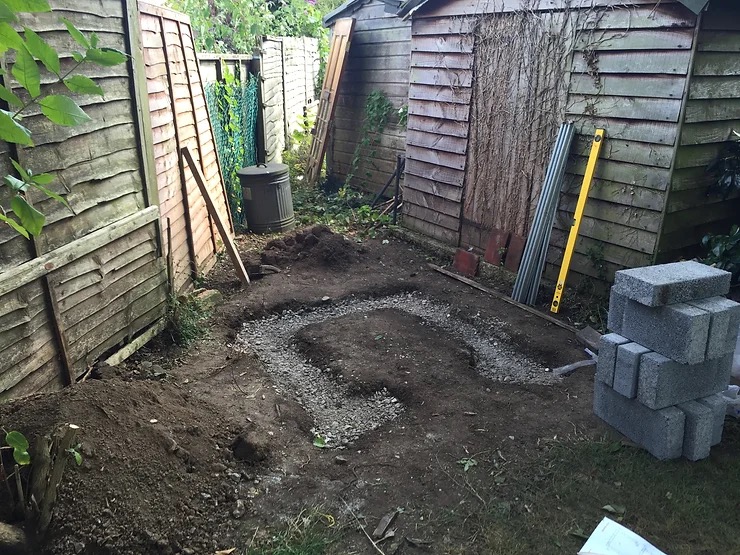
We had an unused corner of the garden next to some sheds which would be a perfect location – close to the house but out of direct sight. (Yes, we also wondered if this was a bit too close to the sheds, but in practice it’s been fine – the oven is very well behaved with no sparks.)
We quickly hit the first problem – what to use as the base? For the oven to be usable, it needs to be at a convenient woking height – which means having the floor of the oven around a metre from ground level. Ideally we’d use natural materials (e.g. rock / stone) to build a plinth. This is great from an eco perspective – but in our suburban setting, we’re not exactly surrounded by rocky outcrops.
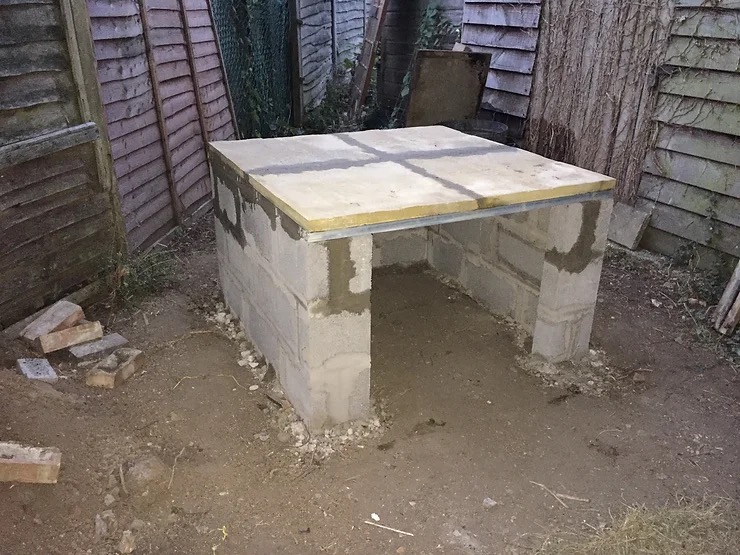
So, we cheated. In the interests of getting it done, we plumped for a blockwork base supporting some paving slabs.
It turns out that learning brick-laying by making it up as you go, as a couple, is fraught with danger. We argued, criticised each other’s techniques, took delight in pointing out the tiniest flaws, and bickered endlessly. But amazingly, after a couple of days, we had laid some foundations, and had build a perfectly decent plinth with all the right angles and dimensions. And the scar from the trowel embedded in my skull soon healed up nicely.
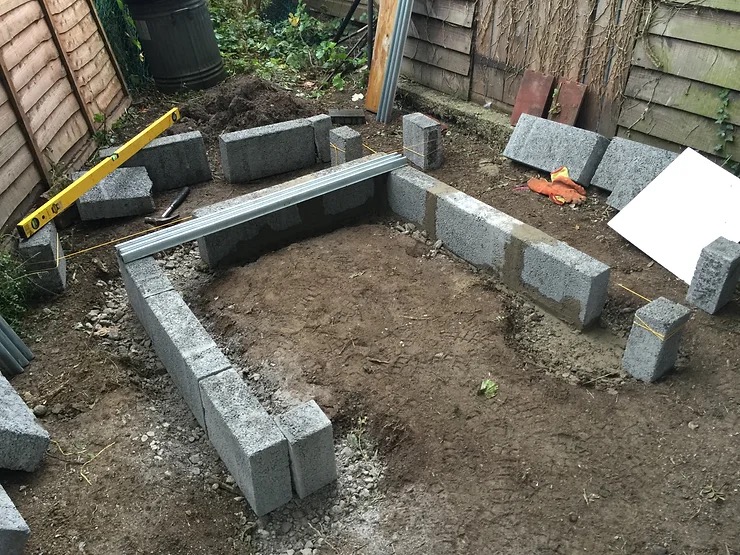
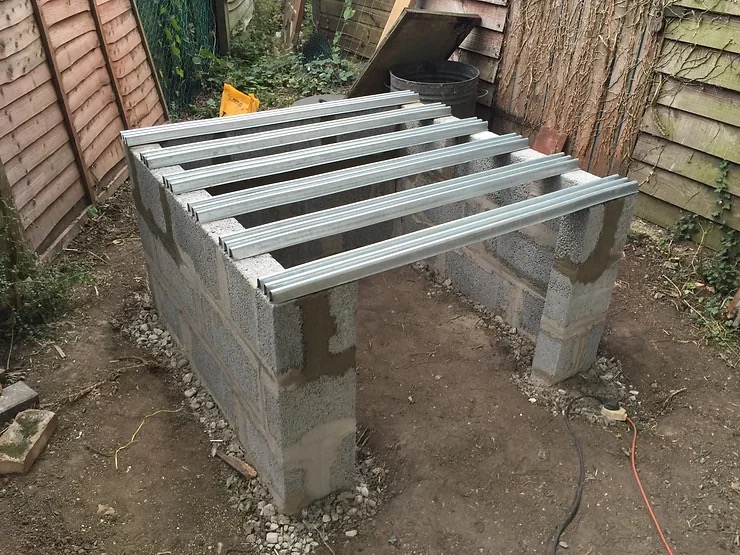
The plinth ‘table top’ was easy – some metal lintels supporting four square paving slabs.
Insulation
One of the first things to consider is insulation. We want the oven to stay hot and not lose too much heat by conduction down through the plinth. Best practice is to use a layer of glass bottles. Glass is a good insulator just by itself but with the trapped air within the bottles means you get a very good insulating layer.
Not being big drinkers, acquiring some beer bottles involved a trip to the local bottle bank – and some reverse recycling. OCD requirements meant they had to be the same size (and brand) so there was much rumaging around inside the recycling bins (and some strange looks from the ‘normal’ recycling public). But eventually we had several boxes of Peroni beer bottles, perfect for the job.

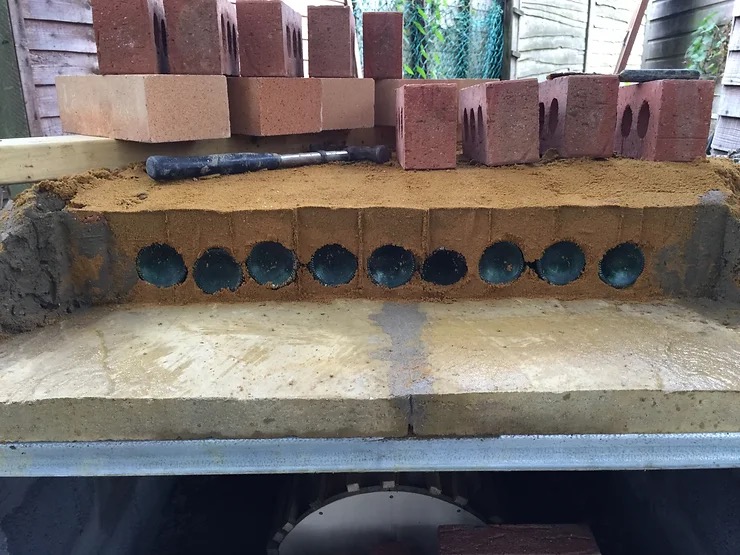
Back at the build, we laid a thin layer of sand on top of the paving slabs and embedded the bottles, nose-to-tail for the best fit.
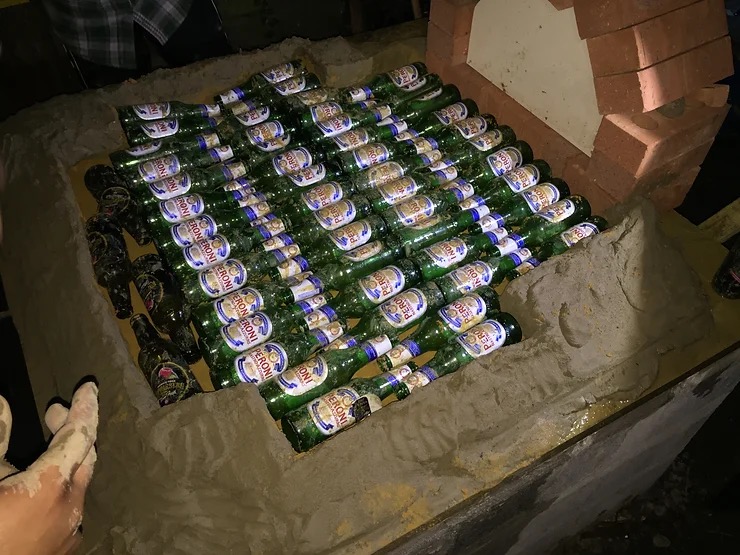
A layer of sand on top of the bottles gave us a level surface on which to lay the firebricks. We found that we needed a wall of clay around the edge to maintain the flat surface for the firebricks and stop the sand escaping.
Oven floor
We opted for proper firebricks for the floor of the oven. They’re fairly expensive so it’s worth taking the time to work out exactly how many you need with no waste.
The firebricks are all perfectly sized so you get a nice smooth floor to slide those pizzas around on. The bricks need to be butted up tight to each other so there are no gaps between them.
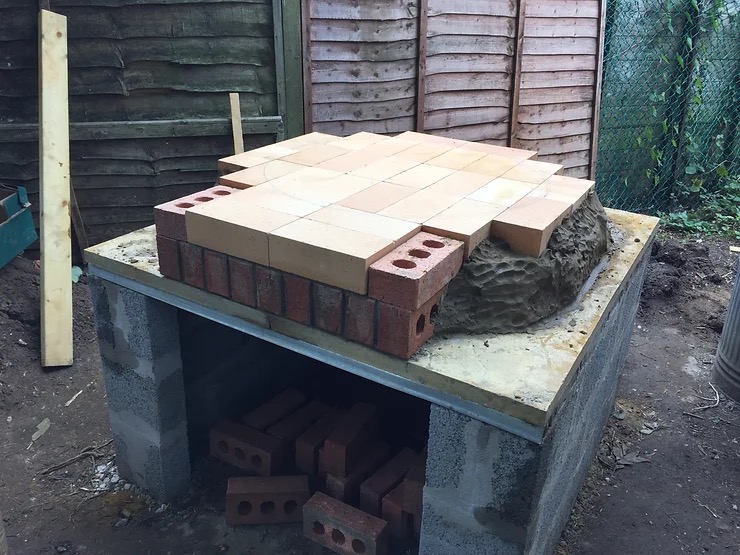
So that’s the first part of the build completed. Join us for part 2 when we’ll build the oven walls and really get our hands dirty!
