Part 1 covered the build, and part 2 the plumbing. In this post I’ll cover the growing media, plants and fish.
The choice of growing media is between ‘cheap and heavy’ and ‘light and expensive’. A lot of people use gravel or granite stone chippings but this does add a lot to the weight and I was worried my frame wouldn’t take it. So I went for the expensive option – expanded clay pebbles. These are super lightweight spherical pebbles (a bit like Maltesers) that are made by superheating clay (apparently). Clay pebbles contain lots of tiny air bubbles which means a lot of surface area for the bacteria to cling to.
You can buy these by the pallet load or in 45 litre sacks like I did. They’re not cheap – I paid around £15 a sack – and needed 14 to get a reasonable depth in the grow beds. Next time, I’d get a 1,000 litre pallet load. The pebbles come covered in a thick red dust so there’s plenty of washing needed before they go in the grow beds.
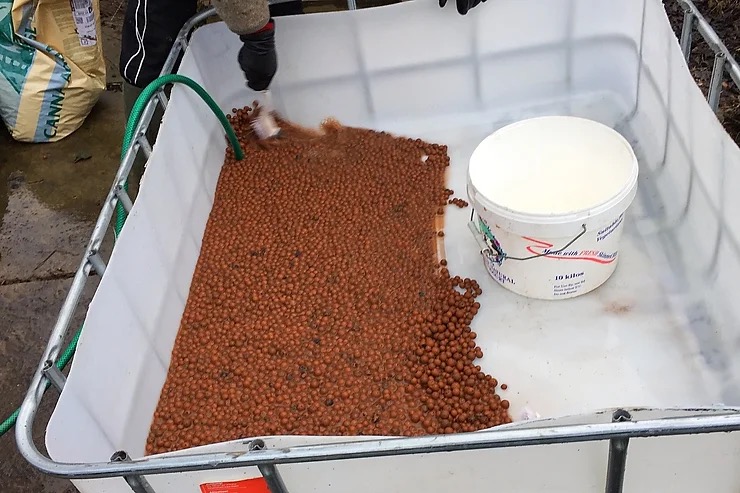
Washing clay pebbles in the middle of winter isn’t fun, but eventually they went in and it was time to start cycling the system. I’ve read that the best way of doing this is to add some ammonia to kick-start the bacteria. In the end I just ran the pump for a couple of weeks. We also planted some tomatoes, peppers and lettuce to help them get established by the time the fish went in. Obviously at this point there were no nutrients in the system but the plants didn’t seem to mind for this short period.
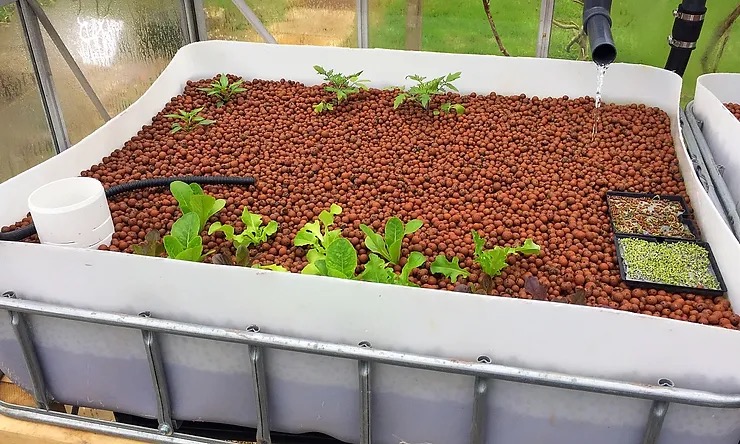
The plants were just regular ‘plugs’ that came from the local garden centre that come in potted in compost and most likely some fertiliser. When using plants like this it’s important to remove all the soil from the roots – if left, the soil would clog up the system, and the fertiliser would probably be harmful to the fish. The soil washes off pretty easily in a bucket of water and the naked roots can then be buried in the clay pebbles.
After two weeks (and a bit more planting) the plants were looking good and not minding the absence of soil.
It felt the right time to add some fish… A friend had recommended www.livetilapiasupplier.co.uk. They supply tilapia in a range of sizes to restaurants, commercial aquaponics businesses like Grow Up Urban Farms as well as hobbyists. They can deliver by post (!) but we chose to collect in person, partly as we were interested to see the place. Kawthar who runs this, is a delightful guy and gave us a tour of the facility – a small operation based under railway arches in Beckton, East London. This is certainly not where you’d expect to find a fish farm!
We were soon back on the M25 with a bin bag full of 40 tilapia in a range of sizes from 1-3 inches. After gradually acclimatising them to the fish tank water, they were released and happily exploring their new home.
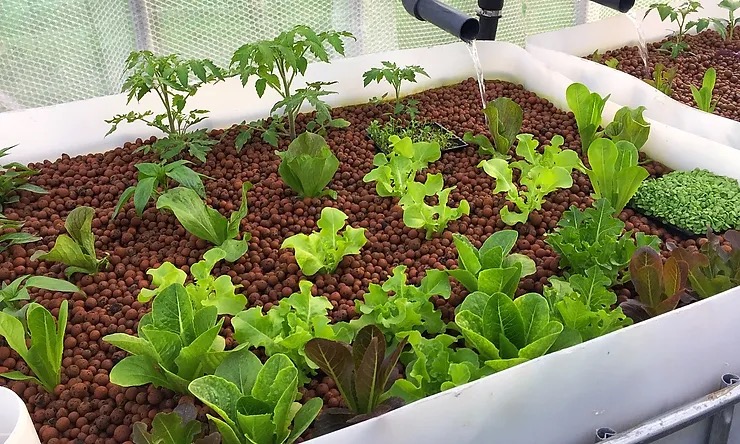
With the introduction of fish waste to the system, the bacteria cycle was able to start properly. The plants seemed to appreciate having something to eat at last and the growth just two weeks after the fish were added was pretty impressive.
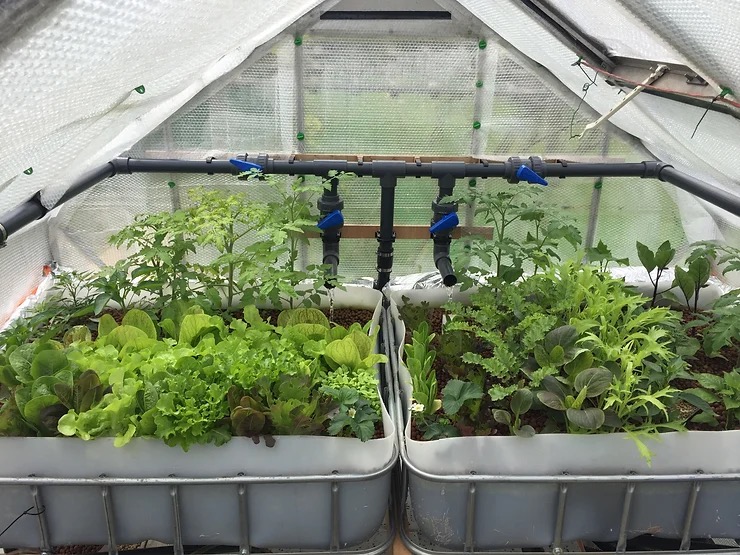
Three weeks on and we were self-sufficient in salad crops. The tomatoes, peppers and chillis were getting strong and we were starting to think we should have added more headroom for growth…
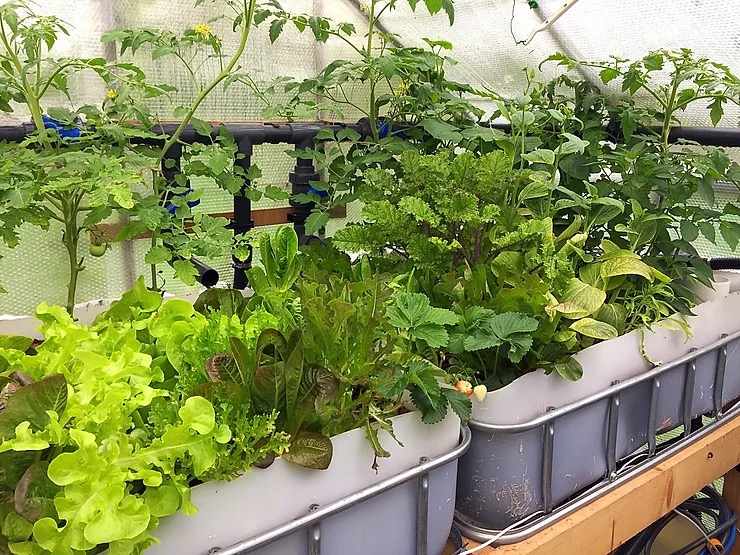
Roll the clock forward a couple of months and we had to make some changes to accommodate the growth:
- the salad has been moved to another system (more in a another post) to get a bit more light
- the cucumbers are taking over the whole greenhouse
- peppers, chillis are loving the environment and growing like crazy
- tomatoes are really being crowded out (of all the plants, the tomatoes were probably the most disappointing)
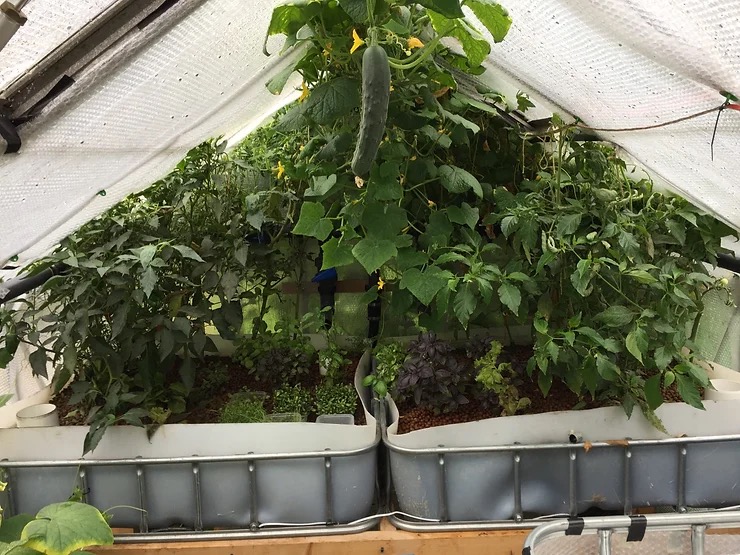
And the fish have grown up a bit too – the video below shows the tilapia after 6 months in the system.
That brings us almost up to date. In the next post I’ll reflect on what went well and what we’d do differently. And then it’ll be back into geek mode to cover the monitoring and control system 🙂
